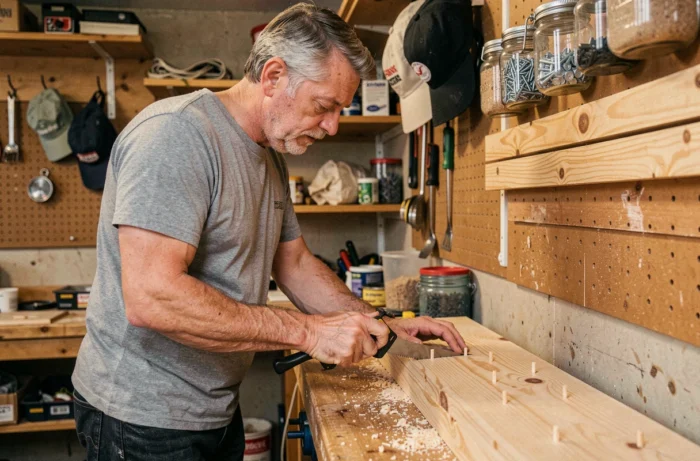
A homemade cap holder meets two simultaneous constraints: storing without deforming the visor and taking up minimal wall or closet space. Before choosing a material or assembly method, the type of fastening determines the project’s durability, the number of pieces to cut, and the final cost. Comparing these parameters allows you to select the solution best suited to your collection and your interior.
Wall-mounted, door, or rod: which system for a DIY cap holder
Three main categories of holders appear in cap storage projects. Their characteristics differ in capacity, footprint, and difficulty of implementation.
| Type of holder | Indicative capacity | Necessary tools | Difficulty level |
|---|---|---|---|
| Wall board with hooks or pegs | 6 to 12 caps | Drill, screws, level | Medium |
| Door-mounted holder (bar + clips) | 4 to 8 caps | Curtain rod, clothespins | Easy |
| Rod or cord stretched between two points | 5 to 10 caps | Anchor hooks, rope or cable | Easy |
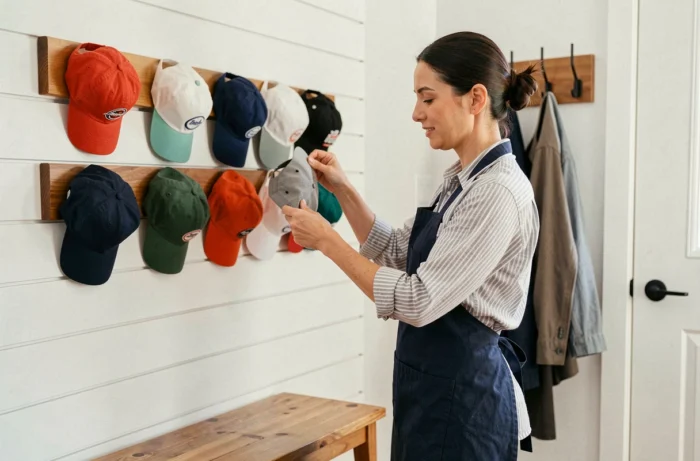
The wall board offers the most modularity. You choose the spacing between each hook to avoid crushing the edge of neighboring caps. However, it requires drilling into the wall and checking that the screw support is suitable for the type of partition (drywall, brick, concrete).
The door system requires no drilling. A simple bar fixed by door hooks, combined with clips or rings, is sufficient. The downside: the door must be able to close without the caps rubbing against the frame.
If you plan to make a cap holder suitable for a small space, the rod stretched between two walls of a closet represents the most compact compromise. It installs in a few minutes and can be disassembled without leaving visible traces.
Solid wood or MDF panel: European regulations on formaldehyde
The choice of material is not limited to aesthetics. Since August 6, 2026, any wood-based item placed on the market in the European Union is subject to a formaldehyde emission limit of 0.062 mg/m³ under standardized room conditions, in accordance with Regulation (EU) 2023/1464, REACH Annex XVII, entry 77.
This constraint directly concerns particle boards, MDF, OSB, and plywood assembled with urea-formaldehyde glues. In practice, a cap holder made with these materials may become non-compliant if sold or given away after this date.
Why solid wood is exempt from this restriction
Solid wood naturally emits formaldehyde, but at such a low level that it is considered a “background natural noise” by the regulation. It is explicitly exempt from the REACH restriction entry 77. For a holder intended to be given or sold in a craft market, this distinction is crucial.
Specifically, a pine, beech, or oak batten purchased from a sawmill poses no regulatory issues. In contrast, a scrap of MDF recovered from a workshop may contain resins that exceed the allowed threshold, especially if the panel dates from before the new manufacturing standards.
Steps to make a wooden wall holder for caps
The most reproducible model remains the wall board equipped with pegs or wooden dowels. Here are the cutting and assembly steps.
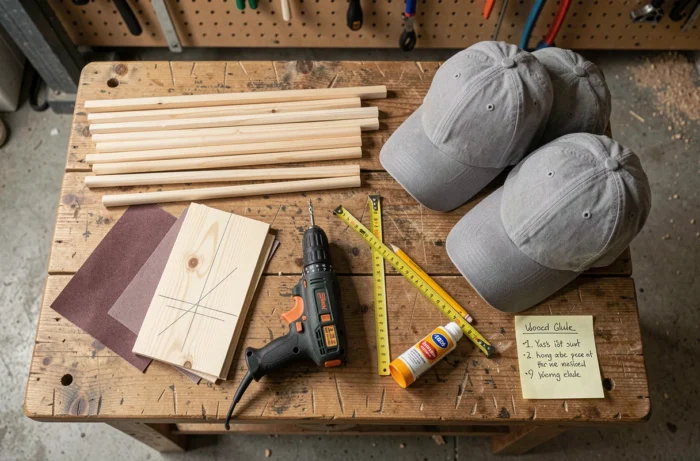
- Cut a solid wood board to the desired length (allow about 10 cm of spacing between each attachment point to avoid compressing the visors)
- Sand the surface with 120 then 240 grit to achieve a smooth touch without risking snagging the fabric of the caps
- Drill regular pilot holes on the front face to insert round dowels, brass hooks, or pegs
- Fix the dowels with wood glue (check that the glue used does not contain excess formaldehyde if you plan to sell the holder)
- Apply a finish: oil, wax, or paint according to the desired style
- Screw the board to the wall using dowels suitable for the wall support
The spacing between each hook affects the hold of the visors. Too tight, the edge of one cap pushes against the neighboring one and deforms. Too wide, the holder wastes wall space.
Finishing and protecting the wood
A coat of linseed oil or matte varnish protects the wood from stains and moisture. If the holder is installed in an entryway or a room exposed to heat, matte polyurethane varnish withstands temperature variations better than simple wax.
For a colorful finish, an acrylic paint applied in two thin coats (with light sanding between passes) gives a uniform result. The fabric of the caps does not stick to the dry acrylic, unlike some glycerol lacquers that remain slightly tacky in poorly ventilated interiors.
Alternatives without drilling for indoor cap storage
Drilling a wall is not always possible, especially in rentals. Two methods allow you to bypass this constraint without sacrificing storage capacity.
The first involves using high-strength double-sided adhesive strips. They can support several kilos if the surface is clean, smooth, and non-porous. The total weight of the caps rarely exceeds two kilos, which remains within the load range of most commercial adhesive fixings.
The second relies on a reinforced hanger equipped with wooden clothespins. Each pin holds a cap by the visor or the rear adjustment strap. This system hangs in a closet, on an existing rod, and moves effortlessly from one room to another.
- Adhesive strips: suitable for smooth surfaces (tiles, glass, melamine), unsuitable for plastered walls or lime-painted walls
- Clothespin hanger: the most mobile solution, ideal for a dressing room or a temporary storage spot
- Suction cup hooks: work on glass and tiles but lose their adhesion with temperature variations
The choice between these options depends on the number of caps to store and the available surface. A solid wood wall holder remains the most durable and aesthetic solution. For a temporary need or a small space, drilling-free alternatives fulfill their function without damaging the walls.