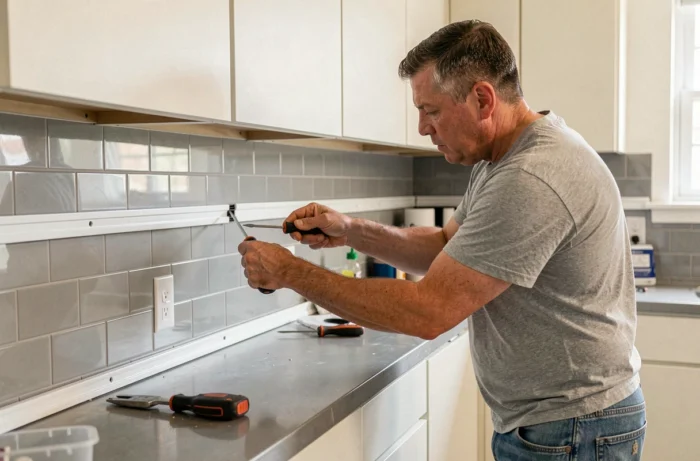
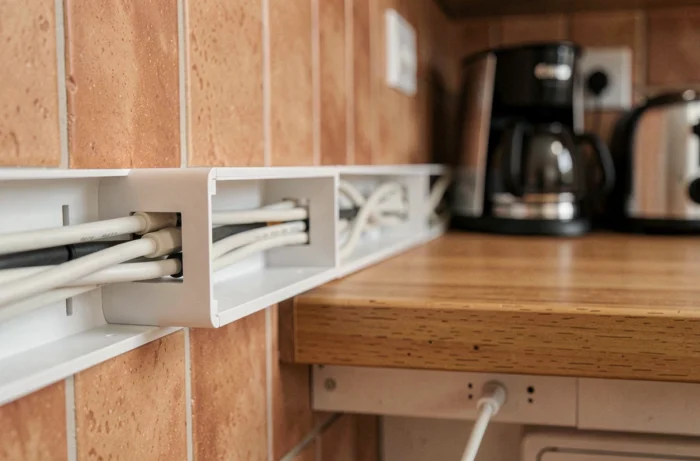
A power duct installed along a kitchen countertop must meet two simultaneous constraints: routing electrical conductors to the outlets for small appliances, and visually disappearing into the backsplash. The difficulty lies less in the installation itself than in adhering to standard heights and sizing the cable path according to the number of connected outlets.
Standard Heights for Kitchen Outlets and Impact on Duct Layout
Most installation guides detail the cutting and gluing of the PVC profile. Few specify the exact height at which this profile must be placed for the outlets it powers to remain compliant with the NF C 15-100 standard.
Outlets intended for small appliances must be located at least 8 cm above the countertop. For a standard countertop height of 90 cm from the floor, this places the duct approximately between 95 and 115 cm from the floor, depending on whether the outlet is at the lower or upper part of the backsplash.
The hood outlet is a special case: it must be installed at minimum 1.80 m from the floor and is the only one allowed above the cooking area. Any outlet is strictly prohibited directly above the sink or the cooktop.
Before marking the path of the duct, it is therefore necessary to map out the exclusion zones (the vertical line of the cooktop, the vertical line of the sink) and mark the minimum heights on the wall. The horizontal layout of the duct then follows the highest common line for all planned outlets, which avoids unsightly vertical drops.
To understand how to install a kitchen power duct with integrated outlets, this height logic must be established before any drilling.
Comparison of Duct Sections According to Kitchen Circuit
The revision of the NF C 15-100 standard, published at the end of August 2024, imposes 6 outlets maximum per kitchen outlet circuit in 2.5 mm². This ceiling directly conditions the useful internal section of the duct: the more conductors there are, the wider the profile must be to prevent overheating and allow passage without mechanical constraint.
| Circuit Configuration | Conductor Section | Max Number of Outlets (2024 standard) | Recommended Duct Width |
|---|---|---|---|
| Dedicated kitchen outlet circuit | 2.5 mm² | 6 | Minimum 40 x 40 mm |
| Countertop outlet circuit (separate island) | 2.5 mm² | 6 | Minimum 40 x 40 mm |
| Hood power supply (specialized circuit) | 1.5 mm² | 1 | 20 x 20 mm sufficient |
| Cooktop power supply | 6 mm² | 1 | 60 x 40 mm or separate passage |
However, a single duct that combines the outlet circuit and the specialized circuit for the cooktop requires a significantly wider profile, often beyond 60 mm. This choice remains possible but makes the duct very visible on the backsplash.
Duct on Backsplash or Recessed in Countertop: Two Approaches Compared
Surface mounting on the backsplash is the most common in renovations. The PVC profile is glued or screwed onto the tiles, and the outlets are mounted on the surface in suitable frames. The result is functional, but the relief of the duct remains noticeable, especially in kitchens with clean lines.
Integration into the countertop represents a different approach. Flush duct systems, sometimes called retractable outlet blocks, fit into a cut made at the back of the countertop. The outlets appear on the surface, and the cables run underneath the countertop to the wall.
- Surface mounted on backsplash: quick installation, low cost, easy access for future modifications. The profile remains visible.
- Recessed in the countertop: clean visual result, but irreversible cutting of the countertop and difficulty accessing conductors in case of failure.
- Mixed (low duct along the baseboard + vertical rise behind the countertop): hides most of the path, compatible with a central island powered from the floor.
The choice depends on the material of the countertop. A laminate can be easily cut. A stone or quartz countertop requires specific tools and does not forgive measurement errors.
Special Case of the Central Island
The electrical supply of an island requires cable passage through the floor, often under a screed or in a recessed conduit. The duct then only comes into play at the vertical rise, inside the island’s casing, to distribute the outlets on the countertop. The path under the floor does not fall under the duct but under the recessed conduit, which implies a separate circuit drawn from the panel.

Dimensioning Errors That Complicate Installation in the Kitchen
The first common error is choosing a duct that is too narrow in the hope of gaining discretion. With the limit of 6 outlets per circuit in 2.5 mm², two separate circuits are often necessary to cover the entire countertop. Passing two sets of conductors through an undersized profile makes clipping the cover difficult and creates stress points on the cable insulation.
The second error concerns fixation. Gluing alone is not sufficient on a backsplash tile subjected to heat emitted by the cooktop or oven. Temperature variations eventually detach the adhesive. Screwing every 30 to 40 cm, combined with a point of glue between the screws, ensures lasting hold.
The third error relates to the separation of currents. The standard requires separating power conductors (outlet circuits) from communication cables (network, telephone). If the kitchen includes an RJ45 outlet for a screen or voice assistant, a separate compartment in the duct or a second dedicated profile is mandatory.
The application tolerance for the 2024 revision of the NF C 15-100 runs until August 23, 2025. Any installation carried out after this date must fully comply with the new circuit limits, including in the sizing of ducts. Anticipating these constraints from the marking phase avoids having to redo everything a few months later.